Arts and crafts meets science in one mesmerizing activity. It’s an awesome moment to explore why water and oil don’t mix. Adults, beware! You’ll want to make your very own, modern art masterpiece too.
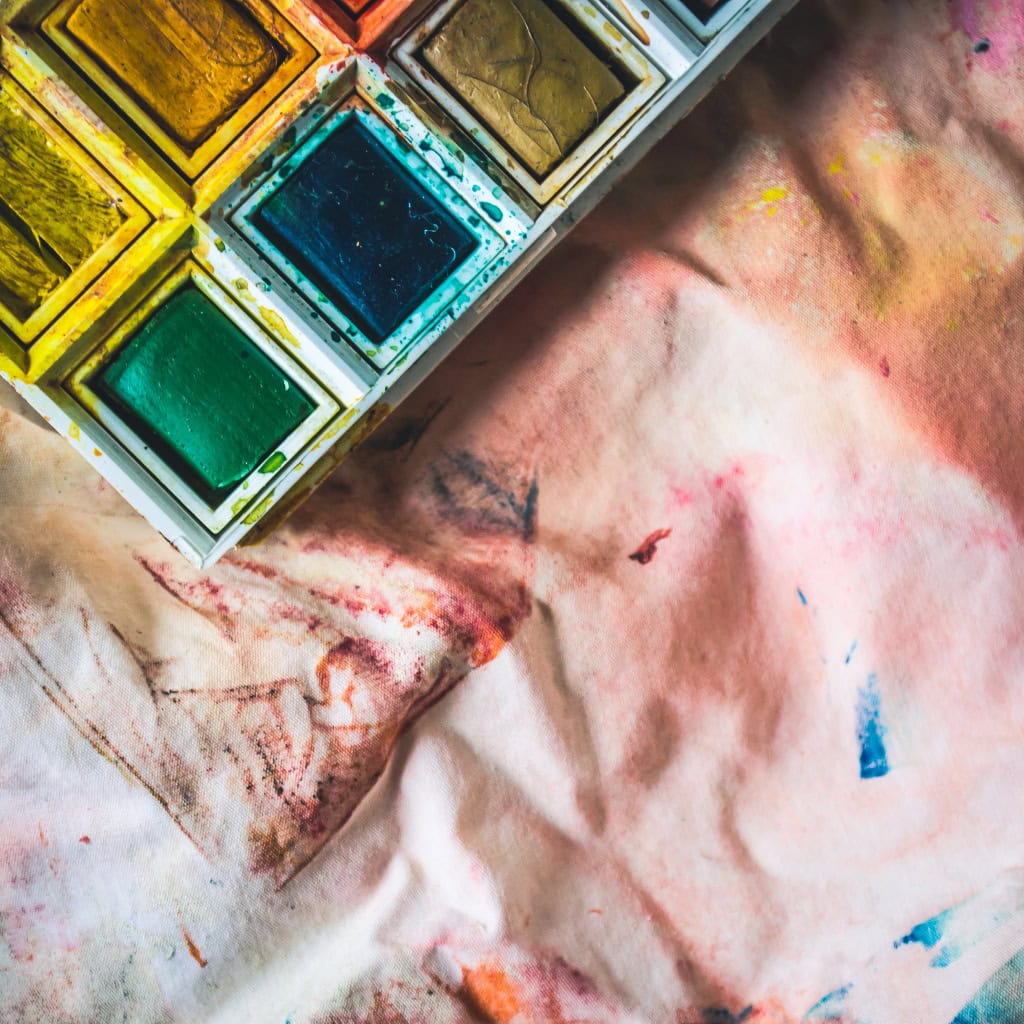
Supplies
- Watercolor paper
- Liquid watercolor paints
- Water (to mix with watercolor paint as needed)
- Cooking oil (any type will do)
- Eye droppers (one for the oil and each paint color)
- Containers to hold paint and oil (i.e. bowls, cups)
- Flat surface for working
- Baking trays or plates (to work on top of)
- Newspaper or table cloth
Instructions
- Lay newspaper or table cloth over the surface you’ll be working on, as this craft is apt to get messy!
- Set-up baking trays (one per person), a small cup of oil, and your watercolor paint. Place a few droppers on the table, ensuring there’s one for the oil and each paint color.
- Each participant can place a sheet of watercolor paper on the baking tray in front of them. Using the dropper, apply watercolors to the paper.
- Using a different eye dropper, apply oil to the paper.
- Watch it interact with the paint! It will sit atop the paint, push paint aside, or (if placed on an unpainted section of the paper) not allow paint to stick to paper.
- Depending on kids’ ages and interests, this is the moment that’s ripe for science! Repeat the process as many times as you like. As you do this, you might talk through the science of why oil and water don’t mix. Hint: It’s all about the molecules, as explained here.
- Once done, place art in a safe place to dry overnight.
- Hang art when dry. Pro tip: The art will look especially neat hung on a window or other natural light source!
Looking for more craft ideas or indoor activities? Check out our free, downloadable activities’ guide—complete with 18 kids’ activities for rain or shine!
{{cta(‘8d804d13-c43e-4001-a811-1d4f5a1dc1e8’)}}
